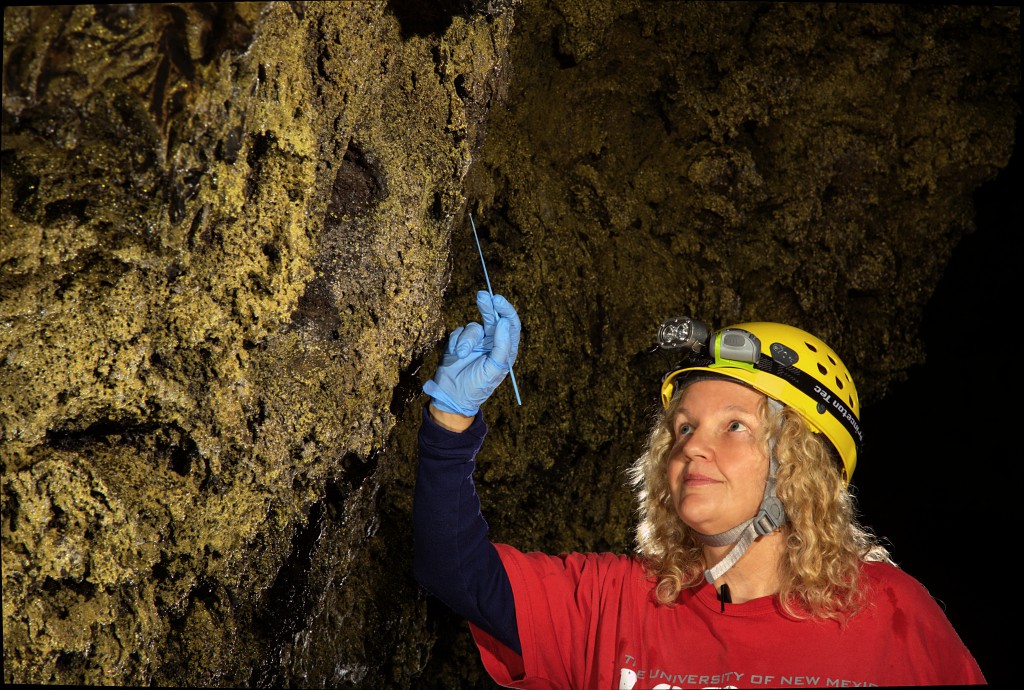
Getting the color right in a photo is important. All of the light(s) that provide illumination for the photo have a color. If we take sunlight at noon as the standard, then electronic flashes are often a little more “blue”. The same is true for photos taken in the shade—much of the light is coming from the sky, which is blue. However, at sunrise and sunset, the sunlight is more red-orange, depending on the time and how much dust is in the air. Incandescent lights are much more yellow-orange. Florescent lights can have different colors, but they often have a strong green component.
Here is an example. First, a photo with a correct white balance:

The result can look like these photos:
If you are not seeing a difference, or if what you see does not match the description, then you need to color-calibrate your monitor. That is a subject for a future blog post.

Most digital cameras also have an “automatic” setting. The problem with this setting is that they try to calculate the white balance. How well they do depends on how close your photo is to the ones that the software understands. A photo of uncle George might be OK, no matter the light source. However, a photo of a lungfish probably has very little in common with uncle George (however, I’ve never met him to know for sure :-). This means that the camera’s program running to calculate the white balance is probably not going to do a good job.
What this means is that, assuming correct color is important, you need to use some kind of a standard to ensure that your colors are correct. I use one of two standards. My primary standard for science photography, especially in caves or other hard environments, is the WhiBal card. This card is a guaranteed neutral gray, and the (lack of) color goes through the entire card—it is not a paint or dye. This means that it can be scratched or otherwise abused, and it will probably not only survive, but also still be the correct color. I accidentally put one of mine through an autoclave. It came out very warped, but a little time in a warm oven flattened it out again.
The second standard that I use is a X-Rite ColorChecker Passport.
This standard not only has guaranteed gray, but also standard color patches and patches for making the color warmer or cooler than standard. When I photograph people, I often use the color balance to add a bit of warmth, which usually looks a little more flattering than perfect color.
To use one of these standards, I take a photo that includes the standard, using the same lighting that I will use for the real photo. I shoot in RAW mode, which means that I need to do white balance adjustments as a part of extracting the image from the RAW file. On the computer, I open the image containing the standard. Many software packages make it a simple with one- or two-clicks to do the setting. Once the proper white balance adjustment is determined from the standard, the software allows you to apply the same correction to other images with at most a click or two. In other words, applying a white balance correction is easy.
The result of this is that the photos I produce have correct color. And, it is not hard to do.


